Showing posts with label recipe. Show all posts

Thursday, December 30, 2010

Simple Oatmeal Raisin Cookies

Oatmeal Raisin Cookies*

[adapted from Smitten Kitchen]
Made these for my mom.
I also lost about 4 cookies worth of batter in the process of making these because the batter is so darn delicious. It reminds me of the Quaker Oats pre-packaged cinammon raisin flavored oatmeals... only better.


INGREDIENTS:

½ cup butter softened (or 1 stick)
2/3 cup light brown sugar packed
1 egg
½ TEAspoon vanilla extract
¾ cup flour
½ TEAspoon baking soda
½ TEAspoon ground cinnamon
¼ TEAspoon salt**
1 and ½ cup rolled oats
½ cup chopped walnuts
¾ cup raisins

DIRECTIONS:

Preheat oven (350 F)
Cream butter, brown sugar, egg and vanilla till smooth
In a separate bowl, whisk flour, baking soda, cinnamon and salt
Gradually stir this into the butter/sugar mixture
Stir in oats, raisins and walnuts

Now you can chill the dough (for thicker cookies)
Or back right away (for slightly less thick cookies)
Spoon them out about 2 inches apart on a parchment lined baking sheet***
Bake 10 to 12 minutes (mine took about 15 to 17 actually)
Take them out when golden at the edges but still a little soft looking on top.
Let them cool thoroughly before packing.

*This is one of the simplest recipes I've ever tried. Everything can basically be contained to one bowl and there's no need for a mixer. Don't be afraid to tweak this. I did not measure the rasins. I just poured from the bag till it looked like enough. I messed with the amount of salt. I had clumps in the brown sugar. I probably won't add nuts next time. Don't worry. Baking isn't science. Make it your own.

**I actually used less salt than this. My mom’s doctor just told her to cut back her sodium intake so because of that, I used sea salt on only a small pinch or two.
***Yes I used a pizza pan. One of my cookie sheets was in the dishwasher and the other was keeping a really fat turkey from leaking raw thawing nastiness all over my fridge.


Wednesday, December 29, 2010

Homemade Marshmallows


HOMEMADE MARSHMALLOWS
[adapted from Smitten Kitchen]


I wrapped about 5 of these up in some bags (bought 20 @ target for a buck in the bargan area) and had enough to give to each of my 15 co-workers, a large jar for my grandmother and 3 extra bags!

INGREDIENTS:

Medium bowl of powdered sugar (for dusting and coating the pan)
3 ½ envelopes (2 TABLEspoons plus 2 ½ TEAspoons) unflavored gelatin
½ cup light corn syrup
½ cup cold water
Another ½ cup cold water
2 cups granulated sugar
¼ TEAspoon salt
1 TABLEspoon vanilla extract*
2 large egg whites

DIRECTIONS:

Oil a pan (19x9)
Dust pan with powdered sugar
In a large bowl, sprinkle** gelatin over ½ cup cold water and let stand.
 
In a 3 quart saucepan (I usually eyeball it and pick my best pan), cook corn syrup, other ½ cup cold water, ¼ teaspoon salt over low heat, stirring in granulated sugar with a wooden spoon until dissolved. (it is dissolved when you can’t feel clumps of sugar anymore)

Increase heat to moderate and boil mixture WITHOUT stirring
Until a digital or candy thermometer registers 240 degrees F (about 12 minutes)***
Remove from heat
Pour over gelatin mixture
Stir (or beat with mixer) until gelatin is dissolved
Beat on high speed till white, tick and nearly tripled in volume (10 minutes, maybe more)
In a separate bowl, beat egg whites (with the whisk attachment) till they just hold stiff peaks.
Combine egg whites and vanilla with the sugar/ gelatin mixture till just combined.
By now my mixture was so stiff and fluffy that the bowl would spin with the mixer if I didn’t hold it still.
Pour complete mixture into oiled and powdered pan
DO NOT SCRAPE THE BOWL (it will stick to you and make a huge mess)
IF YOU WANT COLOR: drop a few drops of food coloring every few inches on the top of the mixture and use a fork to spread it around in designs

Sift a bit of powdered sugar over the top (I no longer have a sifter and had to sprinkle with my hands)

Chill uncovered, until firm (at least 3 hours, up to 1 day)


Run a thin knife around edges and flop onto a large surface (I covered my coffee table with aluminum foil for this).
Life up one corner of the pan, loosen marshmallow with fingers.
Trim edges (which may be crunchy and rather undesirable) and shape into cubes.
Roll newly shaped marshmallows in powdered sugar, shake off and pack.

They will keep in an airtight container at cool room temperature for 1 week.


*The first time I ever made this recipe (2 days ago) I ran out of vanilla extract. I could barely squeeze a few drops out. After asking Google I decided to add some (off brand) maple syrup to taste. You can taste the difference. But they were still might tasty.

** The first time I made this recipe, my husband was helping (THANK YOU KEVIN!). However, he did not sprinkle. He just dumped. It did not look good. It was clumpy and nasty looking and I searched online for at least 20 minutes trying to figure out what to do (I couldn’t do it over, as I only bought one box of gelatin and there are only 4 packets in each box). In the end, I went on with the recipe and (thankfully!) it came together with just a bit of prompting from my hand mixer.


*** perhaps it is because my digital thermometer is broken and I don’t own a candy thermometer but I couldn’t get my boiling sugar mixture over 120 degrees F. I just boiled it for the 12 minutes (and then about 3 minutes more, just for good measure) before moving on.


Thursday, June 10, 2010

pizza♥

PIZZA!


ingredients:

2 ½ cups flour plus some for dusting (may substitute 1 cup flour with 1 cup whole wheat flour)

¼ teaspoon salt

1 cup warm water (as close to 110 degrees as possible)

1 tablespoon olive oil

1 tablespoon sugar

1 package yeast (1/4 ounce)


directions:

Before I start this I tend to wash my counters off really well so that I can knead the dough right on them. I wipe all the crumbs off then I spray bleach all over the counter and get any stains up using paper towels (taking care to keep my shirt out of the way) then I spray soapy water on it and wipe that up and then I follow up with hot water to get rid of the bleach and soap.

Mix the sugar in with the water (work fast the water will begin to cool immediately) and sprinkle yeast on top. refrain from stirring it more than once or twice, just leave it alone and it should do its own thing in about 10 minutes time. While waiting for that you could begin to gather and chop your toppings.
 
It should look like that > It will just about double in size. The top will be poofy and foamy but the bottom part will still be liquid.
Pour into a large bowl (use a scraper to get all the foam from the edges) and add salt and olive oil. Mix in flour in batches (mostly so that you don’t wear most of it).


Mix it using a wooden spoon or a silicone scraper until you can’t anymore.

Now move your bowl to the side and sprinkle flour all over your working space (I find using a small sifter gives a more uniform layer) and flip your bowl over. The whole blob of dough should plop right out.


Now set a timer for about 5-8 minutes and get to work on that dough! There are no laws to kneading. You can punch it, you can roll it you can karate chop it, as long as you’re sure whatever you’re doing is combining the ingredients. I find that pushing until it’s flat like and then pulling the top down the bottom, turning it and flattening it again works fairly well.


Then fold it into a ball like form (doesn’t have to be perfect!)


Now grab a bowl (I use the same one I mixed it in, washed out and sprayed with some Pam) and drop it in. Cover with a thin towel and place in a warm draft free place (the microwave is perfect here- but DON’T turn it on).


Now set a timer and walk away for 30 minutes. Resist the urge to check on it. Just leave it alone and forget about it. You can continue to chop veggies for the toppings or wash dishes… or do what I did and go play 30 minutes of video games.

DING

When your time is up go grab it and pull the towel off. It might not look different from before but sometimes it really really is.


This was one of those times for me.


Now knead it a bit more and divide in half (for a thicker crust, simply don’t divide it) and start flattening that baby. I use a rolling pin to get mine nice and flat and round. Keep checking with your pizza pan to see if the crust is large enough.

Wish I had a photo of this part but when you are ready to put your crust on the pan don’t try to just pick it up with your hands, it will rip. Place your rolling pin (or a wine bottle in a cinch) at the end and pinching the ends of the dough to the roller roll up the dough, as if you were rerolling a roll of paper towels. Don’t worry, it shouldn’t stick to itself. Now move it to the pan and unroll it.


Now this is the part where I normally hand the show over to husband and go play video games/ watch Stargate/ raid the fridge but I’ll stick it out for y’all.

Now before we put the sauce and cheese on, I like to add a drizzle of olive oil and use a pastry brush to spread it around. I also melt some butter and add a few Italian seasonings (garlic salt, basil, cilantro and oregano and a dash of rosemary) then brush that on.


Spread some pizza sauce on there (we used half a jar) and toss some cheese on top (we used most the bag).


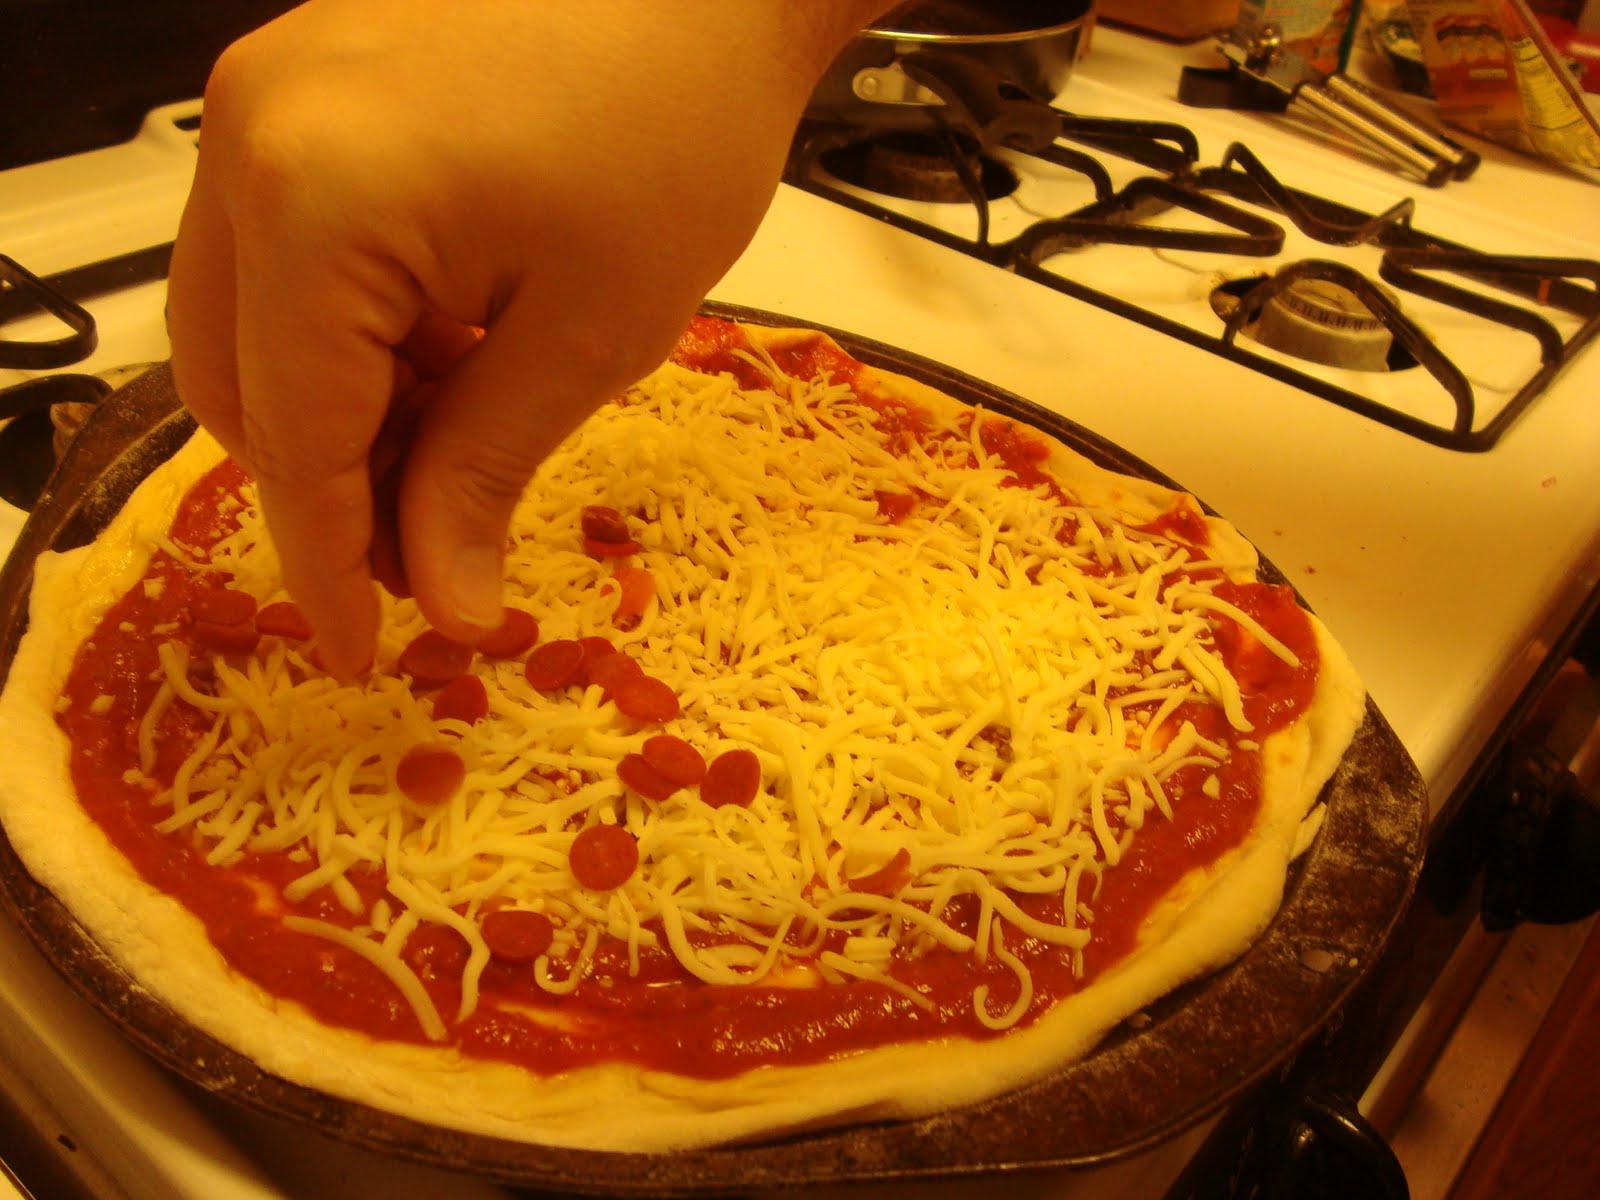
Sprinkle some pepperoni on (I’ve been informed by the husband that what you see here is not – he repeats NOT really pepperoni… it’s mini TURKEY pepperoni, which is apparently sacrilege and does not deserve to be called pepperoni… I on the other hand, liked it – and I’m not a pepperoni eater).

If you’d like you can also use some of the leftover spiced butter to do a few quick swipes around the crust with a pastry brush (makes it so much tastier)

bake at 400 or 425 for 10-15 minutes or until the cheese is nice and bubbly.

Pull her out, wait about 5 minutes as you marvel and take a few pics while it cools and then dig in!


You can either use or freeze the leftover dough. I kneaded and rolled mine out before flash freezing it so next time we want pizza the only work will be assembly. Enjoy!